Hello, fellow DIYers!
Today, I’m thrilled to share a fantastic project that completely transformed our modern cottage kitchen: using black lattice privacy film vinyl to update our windows. This simple yet stylish update not only added a touch of character, but also gave us more privacy without compromising on natural light. If you’re looking for a budget-friendly way to give your windows a makeover, this DIY project is just what you need. Let’s dive into the details and see how you can achieve this adorable look in your own home.

Why Choose Black Lattice Privacy Film Vinyl?
Before we get into the how-to, let’s talk about why I chose black lattice privacy film vinyl. This material is versatile, affordable, and easy to apply. The black lattice design adds a vintage touch to the cottage aesthetic, creating a beautiful balance between contemporary and classic styles. Plus, it provides privacy while still allowing plenty of natural light to filter through, making it perfect for kitchen windows.
This is the vinyl I used, linked HERE. Here is a link to the vinyl/wallpaper application tools I use, HERE.

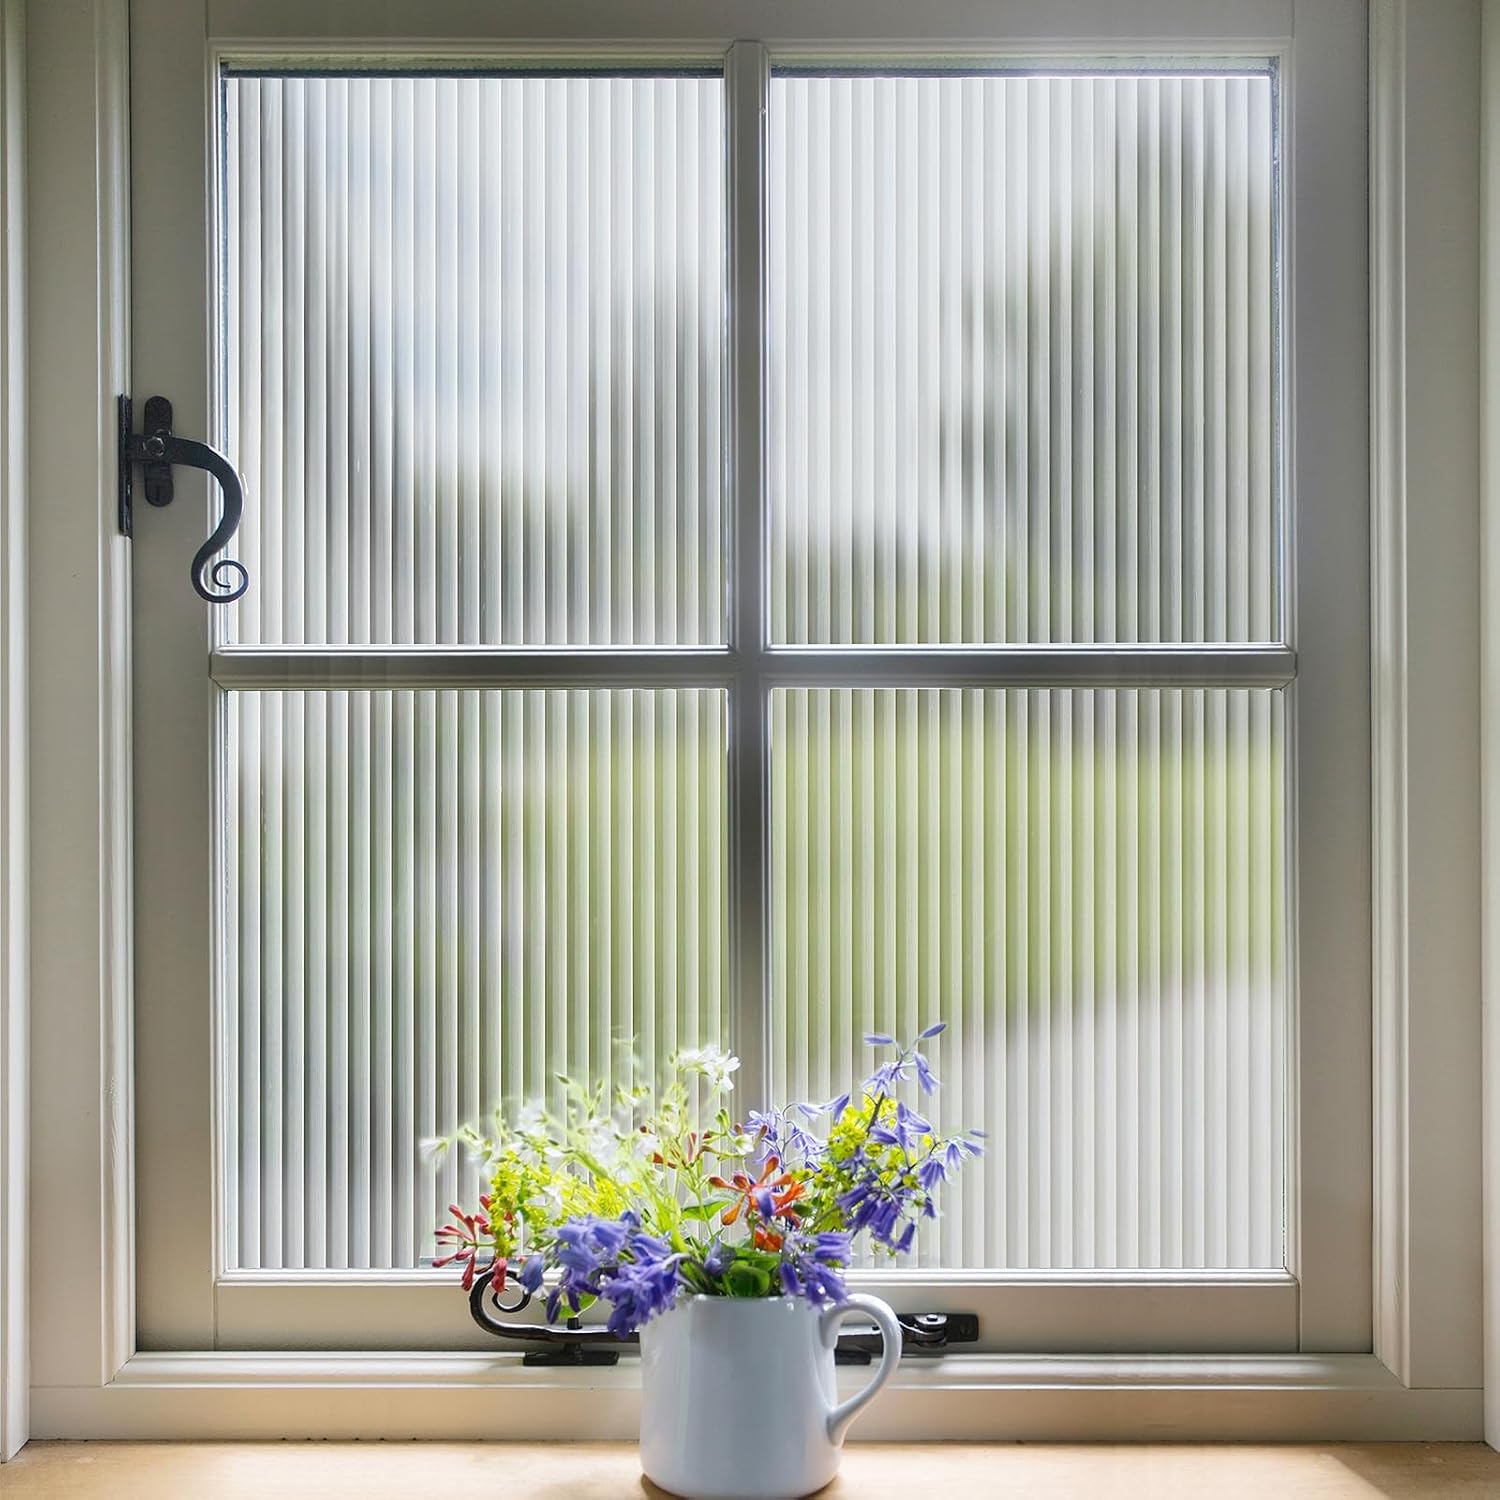
Another vinyl window cover option I have previously used, linked HERE. It has a great reeded glass look.
Installation Process:
Step-by-Step Guide to Applying Black Lattice Privacy Film Vinyl:
- Measure Your Windows: Start by measuring the dimensions of your windowpanes. This ensures you cut the privacy film to the exact size needed.
- Gather Your Materials: You’ll need the vinyl film, a sharp utility knife or scissors, a measuring tape, a spray bottle filled with soapy water (or just do what I did and use a paper towel dunked in soapy water), a squeegee (or credit card), and a clean cloth.
- Clean the Windows: Thoroughly clean your windows with a glass cleaner and a lint-free cloth to remove any dust, dirt, or grease. A clean surface is essential for a smooth application.
- Cut the Film: Using your measurements, cut the privacy film to the size of your windowpanes. Be sure to leave a little extra margin for adjustments.
- Wet the Window: Wipe the soapy water generously onto the window. This helps the film slide into place and makes it easier to remove air bubbles. The more water the better!
- Apply the Film: Peel the backing off the vinyl film and gently place it onto the wet window surface. The soapy water will allow you to reposition the film as needed.
- Smooth Out the Bubbles: Use the squeegee (or a credit card) to smooth out any air bubbles and excess water, starting from the center and working your way outwards.
- Trim the Edges: Once the film is in place and all bubbles are removed, use the utility knife to carefully trim any excess film from the edges of the window.
Before and After:
To truly appreciate the impact of the black lattice privacy film, let’s take a look at some before and after photos of our kitchen windows. I wish I had better before photos of the kitchen before we finished the walls and cabinets, but I didn’t take many of it when it was in its ugly era.
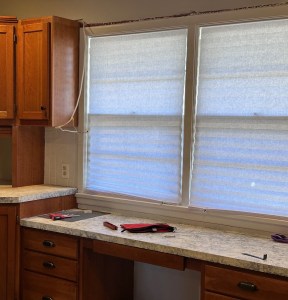
Before: I never wanted to add any heavy curtains or shades to our kitchen windows, so this left them open for viewing and lacking in the privacy we were wanting. I added these simple, paper shades until I decided on what I wanted to do with them.
If you need a great short-term affordable option, these were great. LINK
After: The privacy film provides a beautiful pattern that adds character to the space while maintaining privacy.
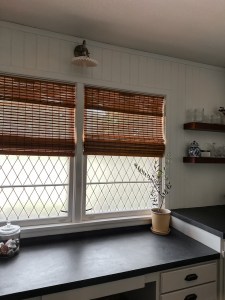
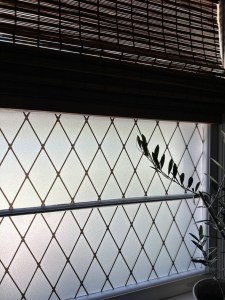
Updating our kitchen windows with black lattice privacy film vinyl has been a game-changer. It’s adorable, easy-to-apply, and an extremely affordable solution that adds both privacy and character to any room. If you’re looking to give your windows a fun and modern-cottage makeover, I highly recommend trying this DIY project. It’s transformed our kitchen, and I hope it will do the same for your home. Happy DIYing!
To see more posts like this, check out the link HERE. Keep an eye out because more posts on our easy, DIY kitchen update coming soon!

Give this DIY a try and leave me a comment and let us know how it went!